Polynucleotides Injection Protocols for Facial Aesthetics: Step-by-Step Guide
TL;DR: Step-by-step injection protocols help clinicians safely and effectively deliver polynucleotides for facial rejuvenation, maximizing aesthetic results and patient satisfaction.
Learning polynucleotides injection protocols for facial aesthetics gives practitioners a clear roadmap for delivering consistent results. When you understand proper technique, you get three things: predictable patient outcomes, reduced treatment variability, and confidence in handling different facial zones. You can master the essential steps in under 15 minutes using the framework below.
Working with polynucleotides means dealing with clinical procurement where consistency matters. You’re ordering for multiple patients or planning repeat treatments. Getting the protocol right involves understanding injection depth, choosing between needles and cannulas, mapping treatment areas, and timing sessions correctly.
Your protocol decisions directly impact patient satisfaction and safety. Solid injection techniques help prevent uneven results, minimize discomfort, and avoid product waste. The winning approach is nailing down tissue targeting before worrying about advanced combinations. Keep your protocols simple and reproducible.
Overview of Polynucleotide Injections
Polynucleotides are DNA-based molecules that signal your skin to repair itself from the inside. These aren’t fillers that add volume by taking up space. Instead, they’re biostimulators that wake up your natural collagen and elastin production.
The big difference between these and regular dermal fillers comes down to mechanism. Fillers physically plump up tissue with hyaluronic acid. Polynucleotides activate fibroblasts to make structural proteins your skin needs. You’re rebuilding tissue quality rather than just filling gaps.
Treatment areas include any facial zone showing signs of aging. The under-eye area responds well because the skin is thin. Cheeks benefit from improved firmness. Jawlines get more definition as skin tightens. The neck and chest areas see texture improvements.
Understanding polynucleotides skin rejuvenation: mechanism and benefits helps you explain to patients why results take time to show up.
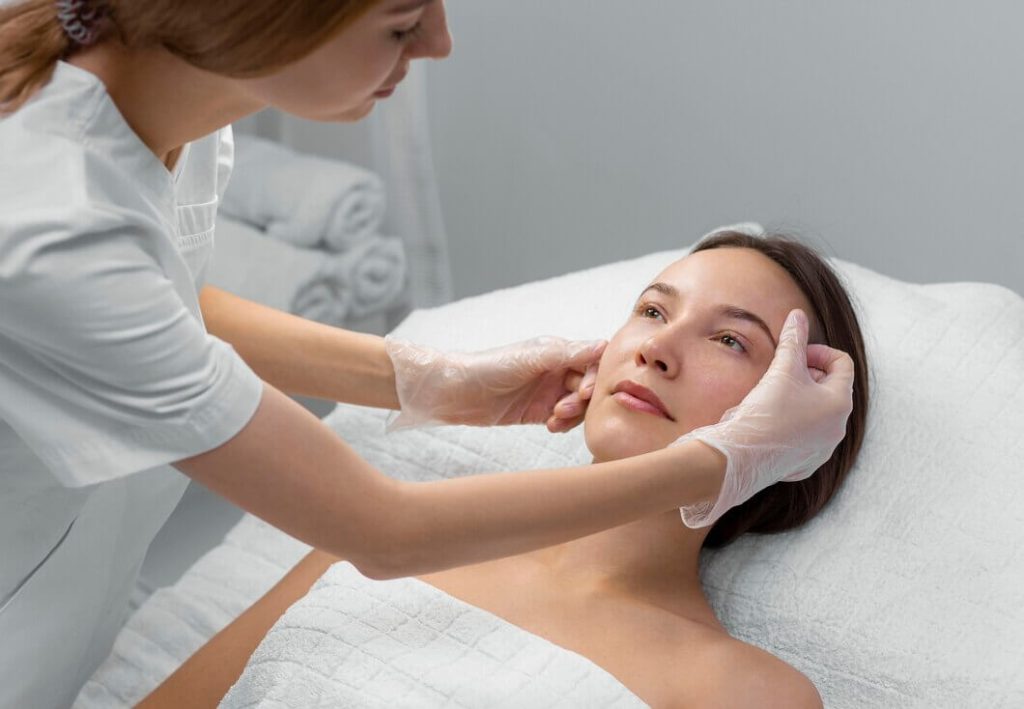
Pre-Treatment Patient Assessment
Skin type and condition determine how aggressive your protocol should be. Thinner skin needs gentler approaches with smaller volumes per injection point. Thicker skin can handle deeper injections and higher concentrations. Look at existing sun damage, texture issues, and hydration levels before deciding on your strategy.
Medical history screening catches potential problems early. Ask about bleeding disorders since polynucleotides involve multiple injection points. Check for active infections or inflammatory skin conditions. Autoimmune conditions might need extra consideration. Allergies to fish products matter, since most polynucleotides are derived from salmon DNA.
Setting realistic expectations prevents disappointment. These treatments work gradually over weeks and months. Patients expecting instant results need education about the difference. Show before-and-after photos from previous patients with similar concerns. Explain that three to four sessions usually deliver optimal results.
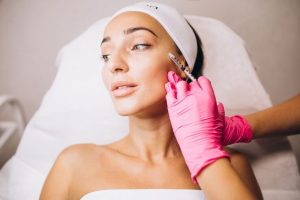
Injection Techniques and Protocols
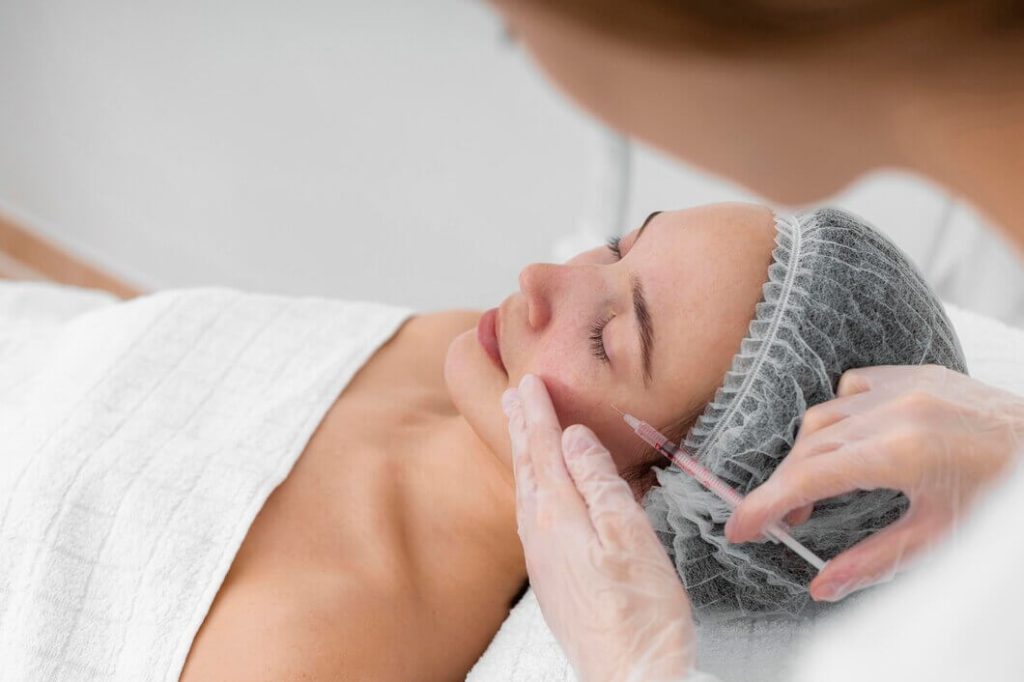
Depth and layering change based on what you’re trying to achieve. Superficial intradermal injections target the upper dermis for texture and hydration at a depth of 1-2mm, using 0.02-0.03ml per point. Mid-dermal injections hit the sweet spot for collagen stimulation at 2-4mm depth. Deeper subdermal placement is effective for volume concerns but requires careful technique.
The needle versus cannula debate comes down to the treatment area and your comfort level. Needles give you precision for small areas and controlled depth. A 30-33 gauge needle works well for most facial zones. Cannulas reduce bruising risk and work great for larger areas like cheeks. They’re especially useful around the orbital area where you want to avoid vessels.
Area-specific strategies matter because facial anatomy varies. For the cheeks, use a serial puncture technique, evenly spacing points over the area. Under-eye treatments need extreme gentleness with superficial placement. Jawline injections follow the border in a linear pattern. Neck treatments spread evenly across horizontal zones. The décolleté responds to grid-pattern injections covering sun-damaged areas.
Dosage and Frequency Guidelines
Recommended units per area follow general patterns but adjust based on concern severity. Under-eye zones typically get 1-2ml total split across multiple points. Cheeks handle 2-3ml per side. Jawline treatments use 1-2ml following the contour. Neck areas might need 2-4ml depending on size. Hands get 1-2ml per hand.
Session intervals run three to four weeks apart for the initial series. This timing lets your cells respond to each treatment before the next signal arrives. Some protocols involve weekly sessions for 4 doses at lower doses. Others space sessions every two weeks. The goal is to build results progressively.
Long-term planning includes maintenance after the initial series. Most patients need touch-ups every six to twelve months. Younger patients with mild concerns might stretch maintenance visits to once a year. Older patients benefit from twice-yearly sessions.
Combining approaches becomes relevant when you want comprehensive results. HA filler combination treatments: lips, cheeks, under-eye pair well with polynucleotides for addressing both volume and quality.
Safety and Best Practices
Sterile technique isn’t optional when doing multiple injection points. Clean the treatment area thoroughly with an antiseptic. Use fresh needles or cannulas for every patient. Wear gloves and avoid touching the injection site after cleaning.
Infection prevention extends beyond the injection moment. Have patients avoid makeup for 12 hours post-treatment. Advise against touching their face unnecessarily. Skip gym sessions and saunas for 24 hours since heat and sweat increase infection risk.
Managing minor complications means knowing what’s normal versus concerning. Redness and slight swelling at injection sites resolve within hours to a day. Small bruises fade within a week. Tenderness is expected for a few days. Lumps that don’t smooth out within 48 hours need follow-up.
Monitoring and follow-up appointments track progress. Schedule checks at two weeks post-treatment. Take standardized photos in consistent lighting. Ask patients about their experience. Adjust subsequent sessions based on how their skin responded.
Optimizing Aesthetic Outcomes
Combining treatments for natural results takes strategic planning. Polynucleotides build tissue quality while other modalities address specific concerns. Pairing them with microneedling enhances absorption. Energy-based devices like radiofrequency complement the cellular activation. Botox handles dynamic wrinkles while polynucleotides improve texture.
Synergy with HA fillers creates comprehensive rejuvenation. Place fillers first if doing both in one session. Then add polynucleotides to improve the tissue envelope. Some practitioners mix polynucleotides with diluted HA to enhance hydration.
Maintaining results requires patient education about skincare and lifestyle. Sunscreen is non-negotiable because UV damage undermines treatment goals. Quality skincare with retinoids and antioxidants supports collagen production between sessions. Adequate hydration and sleep help cells function optimally.
Glossary
- Polynucleotides: DNA chains pulled from natural sources that basically tell your skin cells to start making collagen and fixing damaged tissue.
- Layering Technique: Hitting different depths when you inject, so you’re targeting the exact tissue layers that need work, not just going one depth for everything.
- Cannula vs. Needle: Cannulas are blunt-tipped and flexible, so they slide through tissue without tearing it up as much. Needles are sharp, providing pinpoint accuracy for specific spots.
- Dosage Units: How much product you’re actually putting in, usually measured in milliliters. The concentration is noted in mg/mL, so you know how strong it is.
- Facial Rejuvenation: Making your face look and feel healthier by tackling aging stuff like wrinkles, rough texture, and skin that’s lost its bounce.
References
Lee, K. W. A., et al. (2024). Polynucleotides in aesthetic medicine: A review of current evidence. PMC. https://pmc.ncbi.nlm.nih.gov/articles/PMC11311621/
Harley Academy. (2024, March 15). A practitioner’s guide to polynucleotide skin boosters. https://www.harleyacademy.com/aesthetic-medicine-articles/a-practitioners-guide-to-polynucleotide-skin-boosters/
City Aesthetics Clinic. (2024, March 6). Polynucleotide treatment. https://www.cityaestheticsclinic.co.uk/treatments/polynucleotide-treatment/
Dr. R Facial Aesthetics. (2025, March 1). The ultimate guide to polynucleotide & Profhilo. https://drrfacialaesthetics.co.uk/2025/03/01/the-ultimate-guide-to-polynucleotide-profhilo-harrow/
Renécia Aesthetic Clinic. (2025, August 6). Polynucleotide injection Paris. https://renecia.fr/en/dermatologie-esthetique/injections-polynucleotides-paris/